Recent years have seen an explosion of growth of multimedia content available, but also the growing use of broadband, we have more users with access to multimedia content, but the main factor was the ease that Flash brought to this kind of implementation of rich content (or you think that if youtube was done with windows media, would have the same result 😛 ), Including mobile devices. Recently we had the highest peaks of people accessing streamed content with the funeral of Michael Jackson, not only surpassed by the Obama’s Inauguration.
The aim of this paper is to demonstrate how we can make the mere distribution of content streamed using Adobe Flash Media Server along with the Flash Platform.
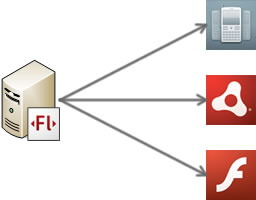
We will see how to implement a service stream with Adobe Flex, Adobe Flash and Adobe Flash Lite along with the streaming server Adobe Flash Media Server.
Adobe Flash Media Server, currently in its version 3.5, has three versions available:
- Adobe Flash Media Streaming Server – for transmission to the streaming content with the Flash Platform
- Adobe Flash Media Interactive Server – For interactive applications, multi-way communication, videos in real-time, audio, and data sharing.
- Adobe Flash Media Development Server – Contains all the features of FMIS, being free and limited to 10 simultaneous connections.
In addition to these versions, there are the following:
- Adobe Flash Media Encoding Server – Server to convert most formats of videos available on the market for Flash Video format (FLV).
- Adobe Flash Media Rights Management Server – To protect multimedia content used with Adobe Media Player and Adobe AIR.
Preparing the Adobe Flash Media Server
The version used in tutorial is Flash Media Server 3.5, see how to install this article from Tom Green, make sure that the server is running normally, and we will create the directory of our application for example, by default, the directories of the applications are created in the path: “C: \ Program Files \ Adobe \ Flash Media Server 3.5 \ applications”, I changed the file fms.ini (C: \ Program Files \ Adobe \ Flash Media Server 3.5 \ conf) in the constant “VHOST . APPSDIR “to” C: \ apache \ htdocs \ applications \ “.
That done, let’s create the directory of our application giving the name “videoondemand” and within that, another folder called “streams” and within this, a directory called “_definst_” where videos should be saved.
Our structure is ready to receive the videos will be provided for streaming with Flash Media Server, one last detail is to create a file called “main.asc” and save in “videoondemanda” can even be empty, he will be responsible for Flash Media Server recognizes the application. Let’s test the console application using Flash Media Server, ( “C: \ Program Files \ Adobe \ Flash Media Server 3.5 \ webroot \ swfs \ fms_adminConsole.swf”), View Applications tab, select the server in my case will place in combobox “new instance …”. select videoOnDemand “if everything is correct, the island had begun to monitor the application. You should see something like the image below:
Stream with Flash and Flash Media Server
Now we just need to create our client that will run the videos, we have several ways to implement this, I will start using Adobe Flash CS4 Professional.
- Go to “Files-> New ..” select Flash File (ActionScript 3.0).
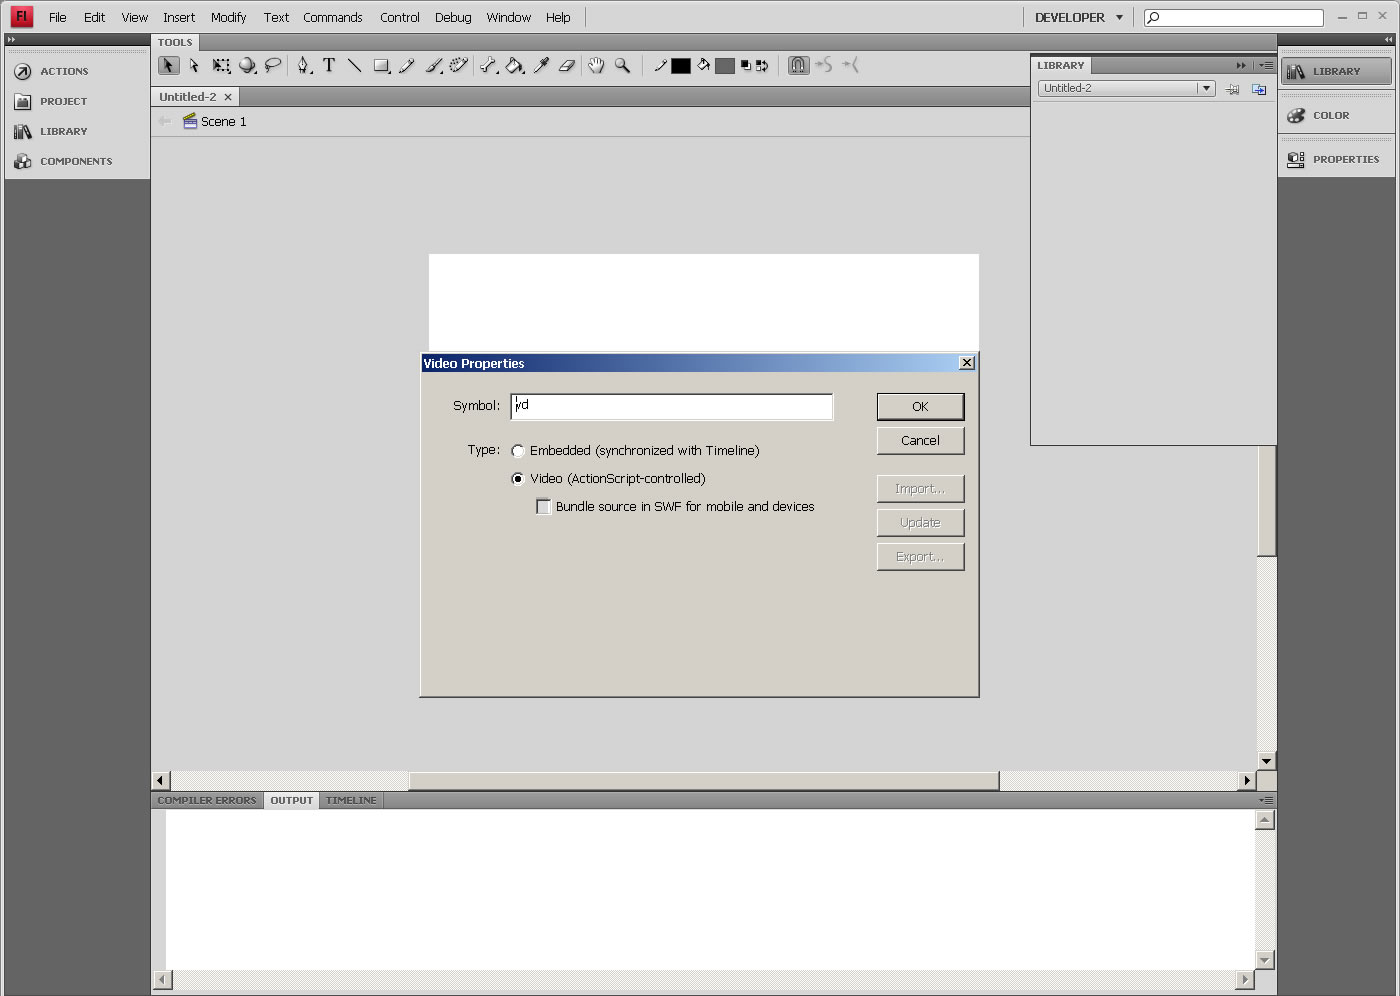
- In the library panel, click on the “new Video. Give the name of instance “vd. In Type leave selecting “Video (ActionScript-controlled).
- Create a layer to write our ActionScript.
In the initial code, instantiate the class NetConnection to make the connection to Flash Media Server:
[ACTIONSCRIPT3]
var rtmp:String = “rtmp://localhost/videoOnDemand”;//your domain Flash Media Server//
var nc:NetConnection = new NetConnection();
function doConnect():void
{
nc.connect(rtmp);
//nc.objectEncoding=ObjectEncoding.AMF0; // only for Flash Media Server 2
nc.addEventListener(NetStatusEvent.NET_STATUS, handlerNetStatus);
}
function handlerNetStatus(evt:NetStatusEvent):void
{
var info:Object=evt.info;
trace(info.code);
}
doConnect();
[/ACTIONSCRIPT3]
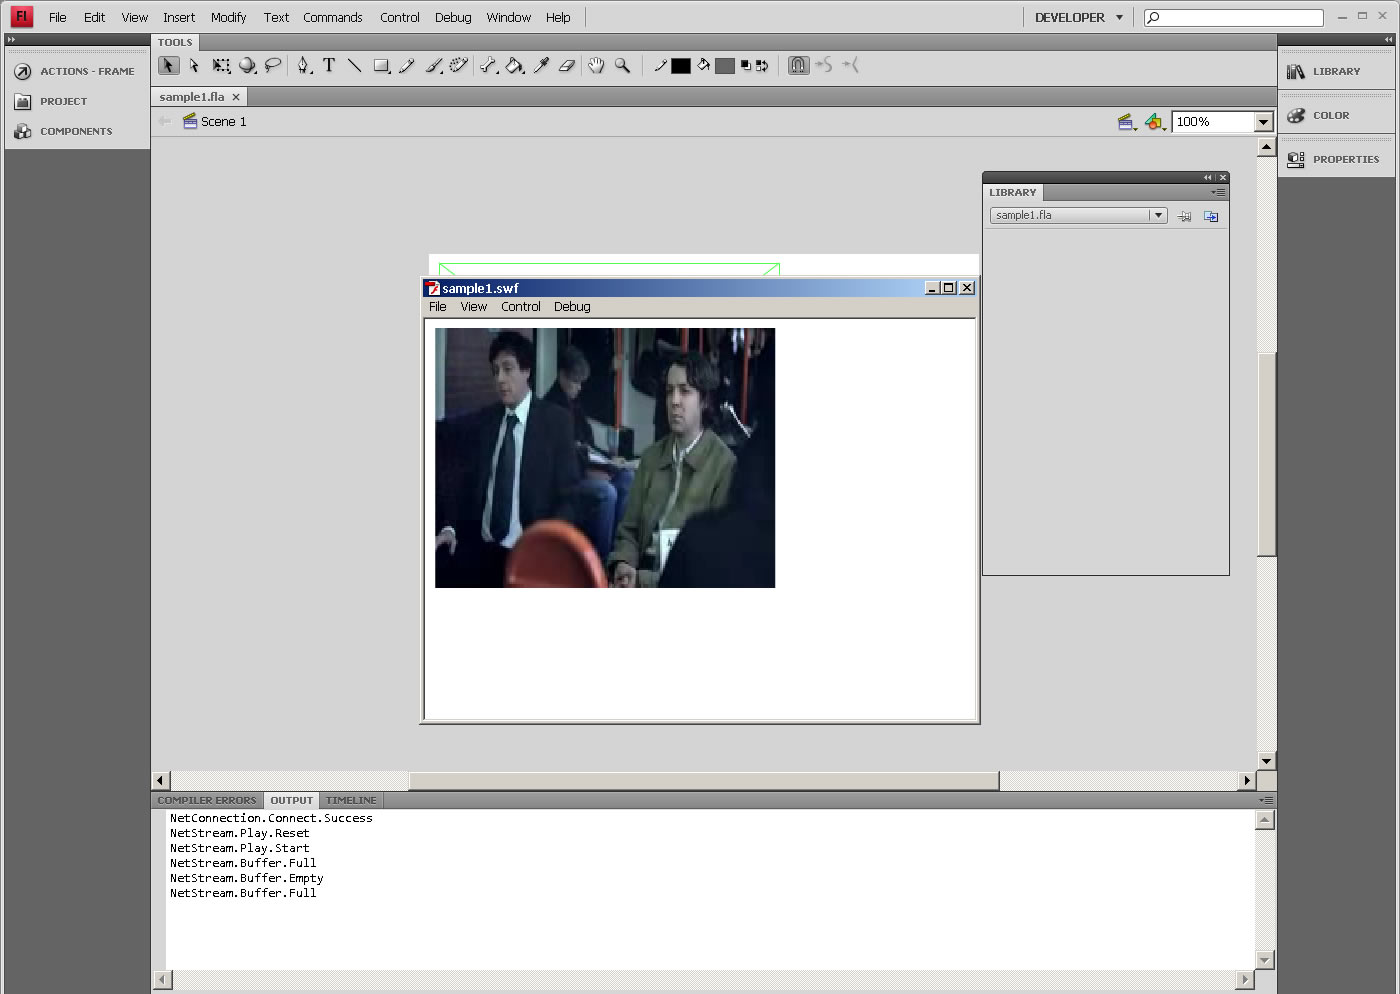
By doing so, we will test pressing ctrl + enter, if all goes well, we should see the following message in the output:
NetConnection.Connect.Success
Now just implement a function that will instantiate the NetStream class, responsible for the video stream, soon after adding the movieclip that will run the video.
[ACTIONSCRIPT3]
function doStream():void
{
var ns:NetStream=new NetStream(nc);
vd.attachNetStream(ns);
ns.play(“sneeze”);
ns.addEventListener(NetStatusEvent.NET_STATUS, handlerNetStreamStatus);
ns.addEventListener(AsyncErrorEvent.ASYNC_ERROR,onMetaData);
}
function handlerNetStreamStatus(evt:NetStatusEvent):void
{
var info:Object=evt.info;
trace(info.code);
}
[/ACTIONSCRIPT3]
We should have the following result:
Using the FLVPlayback component
- Go to “Files-> New ..” select Flash File (ActionScript 3.0).
- In dry go to “Window-> Components or Ctrl + F7, drag the FLVPlayback component to the stage, in the name of instance myFLVPlayback
Now we have to “tell” the component that will be using a video stream content, simply set the isLive property to true:
[ACTIONSCRIPT3]
import fl.video.*;
flvPlayer.isLive=true;
flvPlayer.source=”rtmp://localhost/videoondemand/sneeze”;
flvPlayer.scaleMode = VideoScaleMode.MAINTAIN_ASPECT_RATIO;
flvPlayer.play();
[/ACTIONSCRIPT3]
Stream with Flex and Flash Media Server
We will see some examples implementing Adobe Flex, the first example will be using the Video class, we instantiate it and add a simple canvas component.
The basics are very similar as done in Adobe Flash.
Using the Video class
[ACTIONSCRIPT3]
private var url_rtmp:String = “rtmp://localhost/videoOnDemand”;
private var nc:NetConnection = new NetConnection();
private var ns:NetStream;
private var localVideo:Video = new Video(320,240);
private var videoHolder:UIComponent;
[/ACTIONSCRIPT3]
Added the init function to be loaded as createComplete the application:
[ACTIONSCRIPT3]
public function init():void
{
nc.connect(url_rtmp);
call();
//nc.objectEncoding = ObjectEncoding.AMF0; // for Adobe Flash Media Server 2.0
nc.addEventListener(NetStatusEvent.NET_STATUS,netStatusHandler);
btnView.addEventListener(MouseEvent.CLICK,play);
}
[/ACTIONSCRIPT3]
We will have a function to check if the connection to Flash Media Server was successful.
[ACTIONSCRIPT3]
private function netStatusHandler(e:NetStatusEvent):void
{
var info:Object = e.info;
trace(info.code);
switch(info.code)
{
case “NetConnection.Connect.Success”:
btnView.enabled = true;
btnView.label = “Play”;
break;
case “NetConnection.Connect.Closed”:
trace();
break;
}
}
[/ACTIONSCRIPT3]
Function callCamera be responsible for “building” the video (localvideos) to add it in the holder (instance of UIComponent) and only then adding the canvas (cv).
[ACTIONSCRIPT3]
private function call():void
{
var holder:UIComponent = new UIComponent();
localVideo = new Video(320,240);
holder.addChild(localVideo);
cv.addChild(holder);
}
[/ACTIONSCRIPT3]
Now implementing the rest of the code.
[ACTIONSCRIPT3]
private function play(evt:MouseEvent):void
{
ns = new NetStream(nc);
ns.play(“sneeze”);
localVideo.attachNetStream(ns);
ns.addEventListener(NetStatusEvent.NET_STATUS,netStatusHandlerNC);
}
private function netStatusHandlerNC(e:NetStatusEvent):void
{
var info:Object = e.info;
trace(info.code);
}
[/ACTIONSCRIPT3]
Using the component VideoDisplay
The implementation of this component created by Giacomo (Peldi) Guilizzoni after being included in the Flex Framework should be the most difficult of all :P, Or I’ll take the time to explain.
[ACTIONSCRIPT3]
[/ACTIONSCRIPT3]
DOWNLOAD SOURCE
Using the FLVPlayback component in Flex
The component can also be FLVPlaybak using Adobe Flex, for this just follow the following steps:
- Go to “directory to install the Adobe Flash\Common\Configuration\Components\Video\”.
- FLVPlaybackAS3.swc Copy the file to your project in Flex Builder
- Choose the skin (the installation directory of the Adobe Flash \ Common \ Configuration \ FLVPlayback Skins \ ActionScript 3.0) of your preference and save on your project.
Now just instantiate the class instance and adds it to the stage:
[ACTIONSCRIPT3]
[/ACTIONSCRIPT3]
Stream with Flash Lite and Flash Media Server
Adobe Flash Lite 3.0 introduced some new ones, the ability to play video streamed directly with Adobe Flash Media Server. Joining this with the growing use of 3G and models of phones with Flash Lite (the work everyone has a Nokia N95, the less I :P) , We have an unprecedented range of possibilities in world.
To schedule content for Flash Lite, we will use Adobe Flash CS4 and ActionScript 2.0 programming (still can not use ActionScript 3.0 or even Adobe Flex).
- Go to “Files-> New ..” select Flash File (Mobile).
- Then, will open the Adobe Device Central CS4, pick any phone model that supports Flash Lite 3.0, has no case, ask for the Device Central update your library.
- We will do the same thing we did to play stream with Flash CS4, In the library, click on the “new Video. Give the name of instance “vd. In Type leave selecting “Video (ActionScript-controlled).
- Create a layer to write our ActionScript.
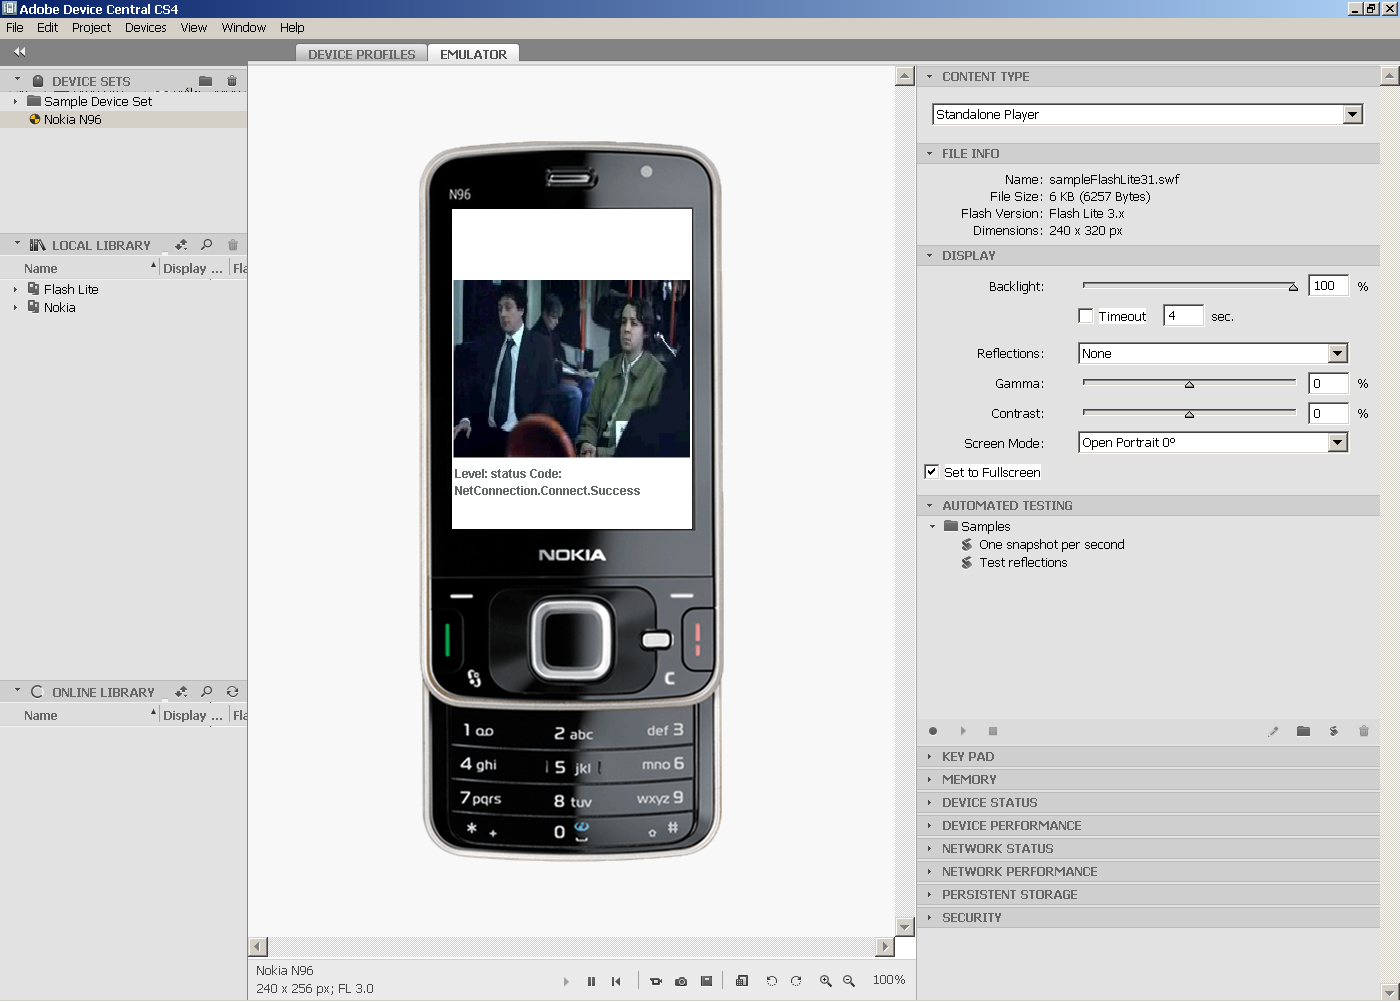
In the initial code, instantiate the class NetConnection to make the connection to Flash Media Server, if successful, begin the stream:
[ACTIONSCRIPT]
//#include “BandwidthAS2.as”
var rtmp:String = “rtmp://localhost/webcam”;
client_nc = new NetConnection();
client_nc.connect(rtmp);
fscommand2(“FullScreen”, true);
client_nc.onStatus = function(info) {
trace(“Level: “+info.level+” Code: “+info.code);
switch (info.code) {
case “NetConnection.Connect.Success” :
doPlay();
break;
case “NetConnection.Connect.Closed” :
break;
}
};
function doPlay()
{
in_ns = new NetStream(client_nc);
vd.attachVideo(in_ns);
in_ns.play(“sneeze”);
in_ns.connect();
}
[/ACTIONSCRIPT]
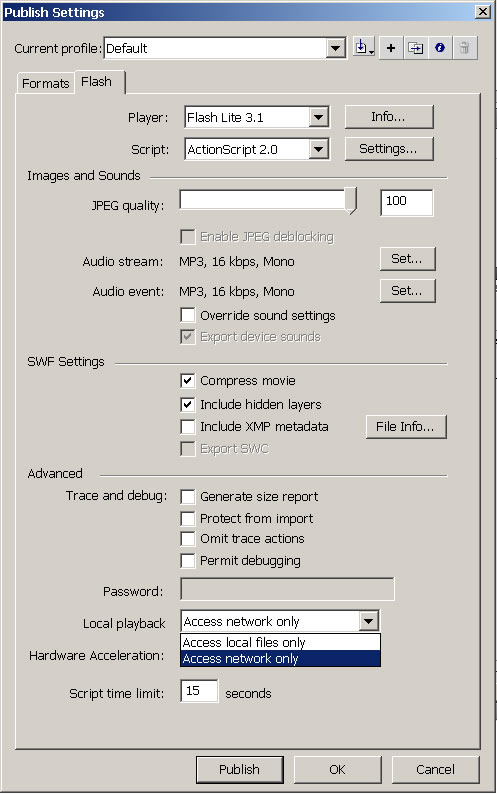
One detail that we must look at the setting of publication, we put the option “Local Playback” to “Access network only”, but the video will not run on the phone.
That done, we have the following result:
Now it so save the swf and test the phone, you can also save it as Flash Lite 3.1 and use Adobe Mobile Package to create an installer .sis (to Simbiam) or .cab (for windows mobile) for your mobile.
Bonus 1
Stream with Adobe Dreamweaver CS4 and Flash Media Server
Ok ok, not quite but it is an alternative for those not familiar with Adobe Flash or Adobe Flex. Let it:
- Create a blank html page.
- Go to “Insert-> Media-> FLV .
- In Video type, select “Streaming Video”.
- On server load URI put rtmp://localhost/videoondemand/.
- In stream name, put the name of the video, in our case will “sneeze”.
- Configure the remaining options to your liking, save the page and open in your browser (Dreamweaver will copy some files to your next page)
Bonus 2
Some useful tools for developing with Adobe Flash Media Server, including an update of the FLVPlayback with support for Dynamic Streaming and DVR.
http://www.adobe.com/products/flashmediaserver/tool_downloads/
Bonus 3
The file main.asc used in the example has an implementation to detect the speed of bandwidth used and we can create a feature to determine a video that best fits User Connection. This file appears in the examples that are located in the installation of Adobe Flash Media Server.
Flash Media Server Developer Center
http://www.adobe.com/devnet/flashmediaserver/
Recommended Books:
Hands-On Guide to Flash Video: Web Video and Flash Media Server (Hands-On Guide Series)
Flash Video for Professionals: Expert Techniques for Integrating Video on the Web
Introduction to Flash Media Server 2
Translations:
Português do Brasil



2 comments